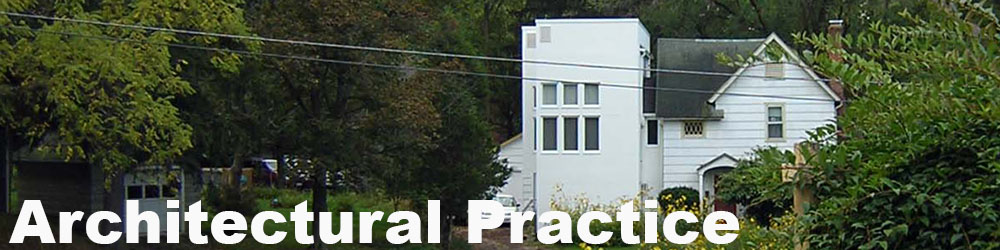
Design-build addition to residence, Ithaca, NY
[Addition homepage]
Weeks 46-52: April 18, 2005 - June 5, 2005
[previous week] |
[next week] |
[week by week index]
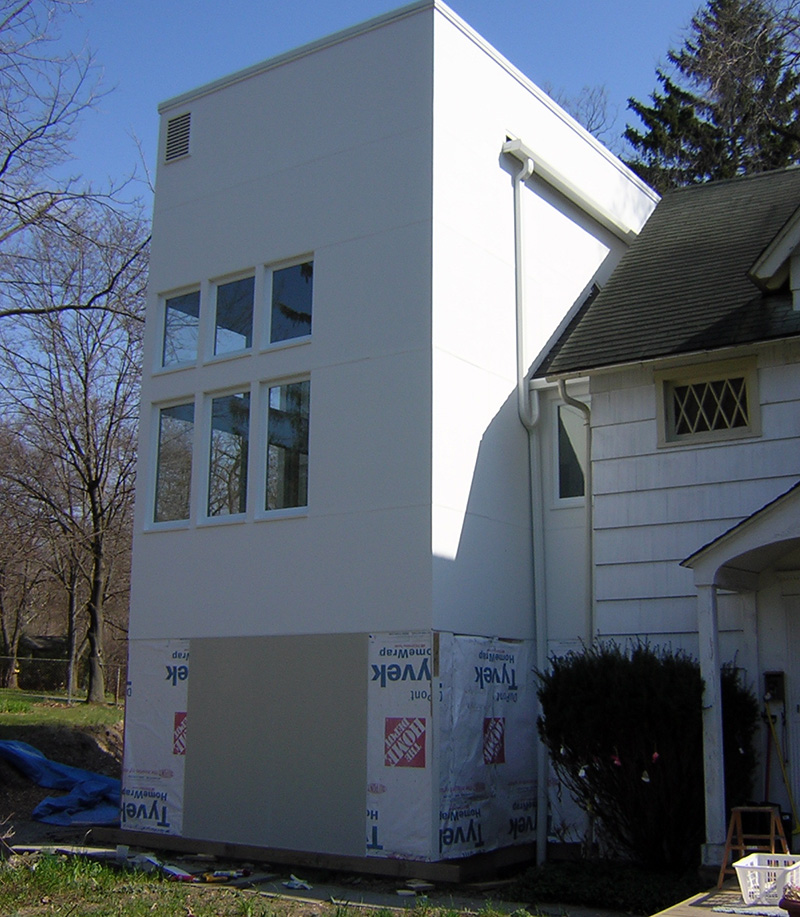
We finally remove the scaffolding from the front elevation, and begin installing the final row of Hardipanel siding.
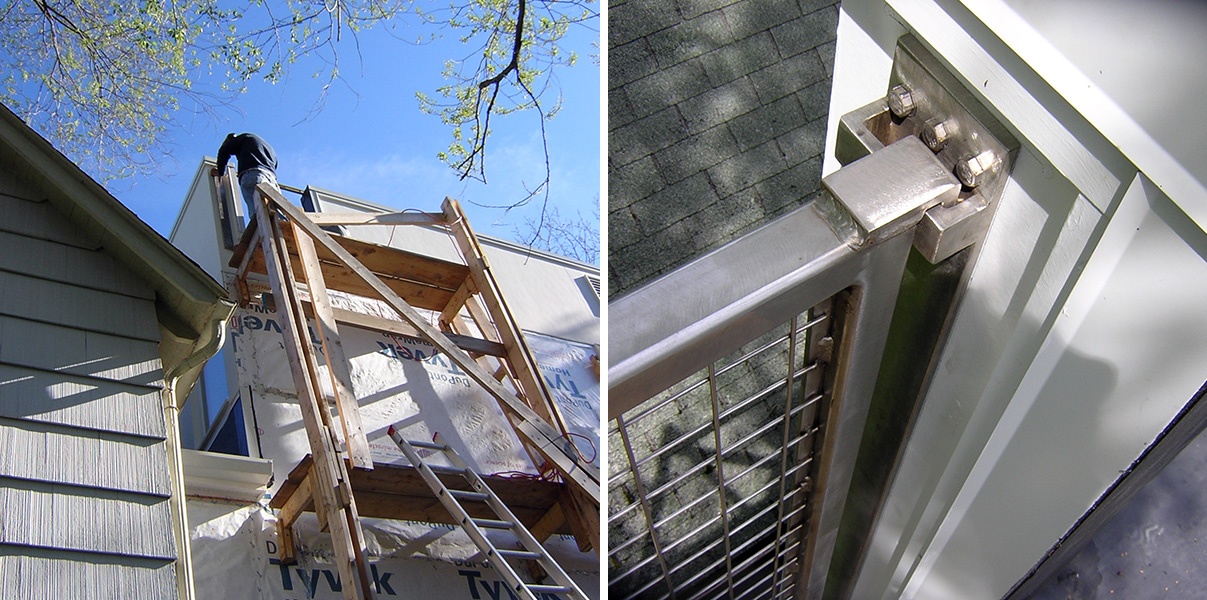
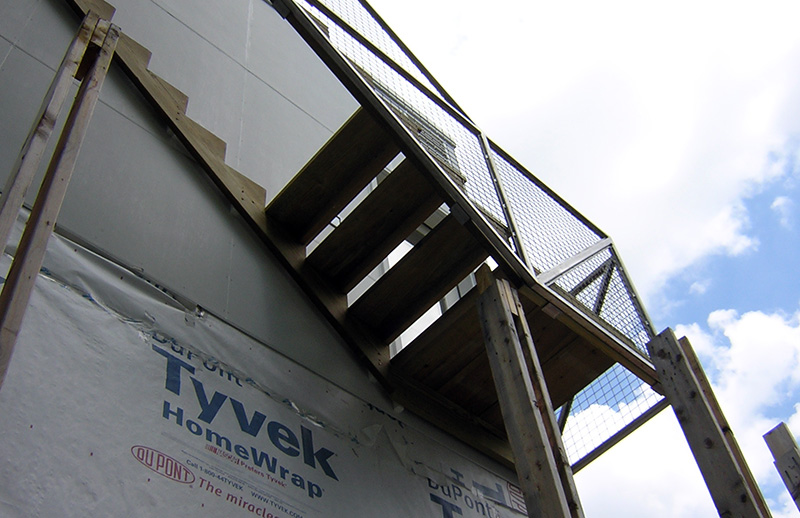
Meanwhile, on the south side, Accufab begins installing the stainless steel stair truss they fabricated. I designed a bracket to be installed first, both to facilitate the erection process and to allow for tolerances (for construction inaccuracies). The bracket is fastened to the addition with 6" stainless steel lag screws (left); the stair truss then is inserted into the bracket (right).

The lower end of the truss is then aligned (left) and fastened to the addition with more lag screws (right).
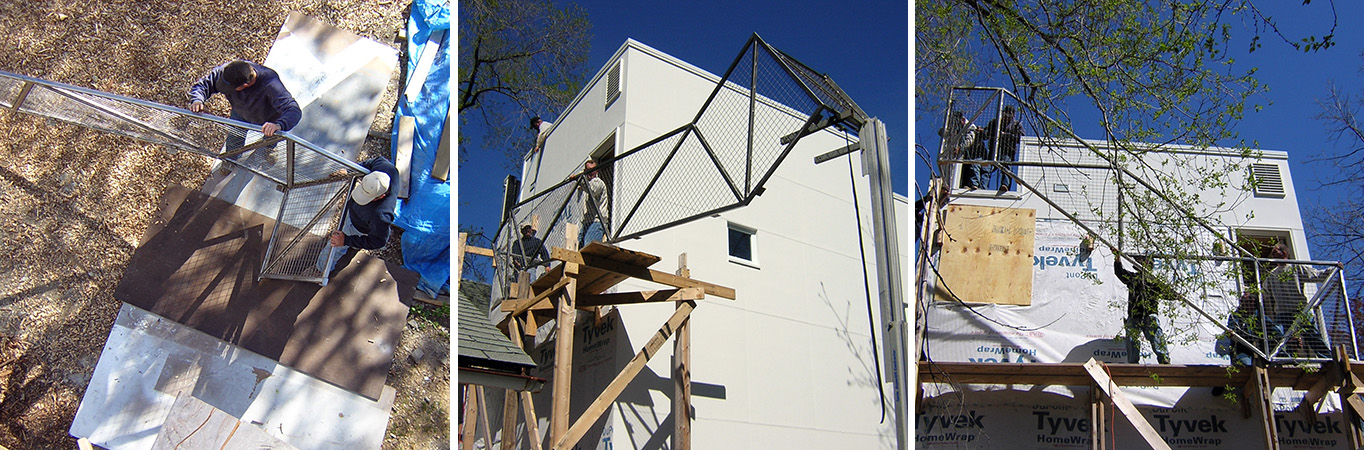
The hardest part of the stair installation wasn't the fastening; it was getting it up into place. The sequence is shown in these images: on the ground (left); being lifted up (middle); and being slid along the scaffolding into position (right).

Once the stair truss is in place, I can fabricate a relatively conventional stair using pressure-treated lumber. I cut the stringers (left); and fasten one to the truss and the other to the addition wall.

The stringers are supported by the truss on stainless steel clip angles, shown before (left); and after (middle). On the addition side, the stringers are fastened through 2x2 pressure-treated spacers using 6" lag screws recycled from the demolished scaffolding brackets (right). The only trick here was finding the studs behind the Hardipanel siding.
Once the stringers are fastened, the scaffolding is removed, and landings and treads are screwed into place, starting at the bottom.
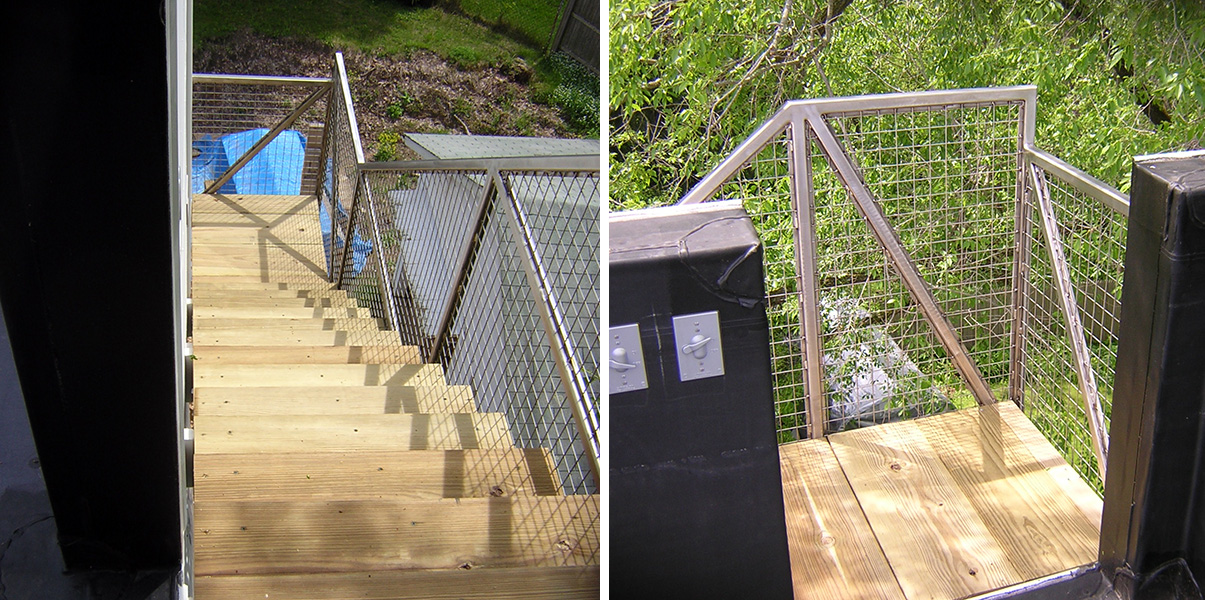
When I reach the top, it is possible to stand on the roof and look back at the stair. The actual roof deck, to be placed over the existing EPDM membrane, will come later this summer.
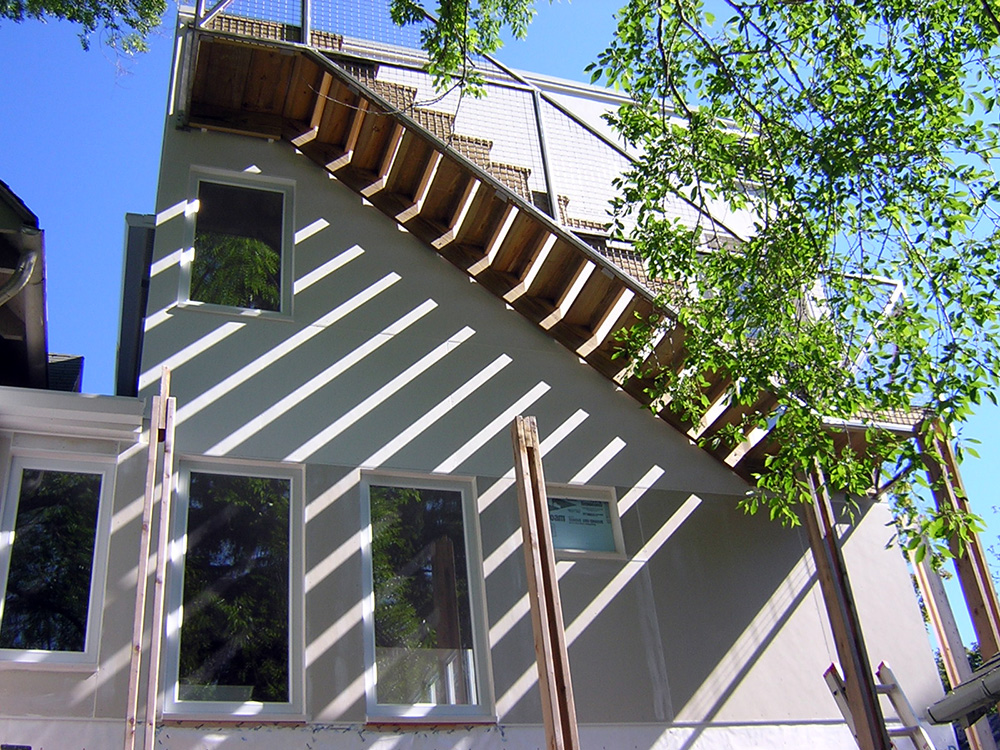
With the scaffolding removed below the stair, it is now possible to install the next row of Hardipanel siding, revealing three more windows into the studio and bathroom. The early morning light from the south-east casts shadows on the southern wall.

We complete the soffit under the cantilevered stair, using inexpensive 1/2" sanded plywood coated with spar varnish. A motion-sensitive light is rescued from the attic and put into position in front of the side entrance.
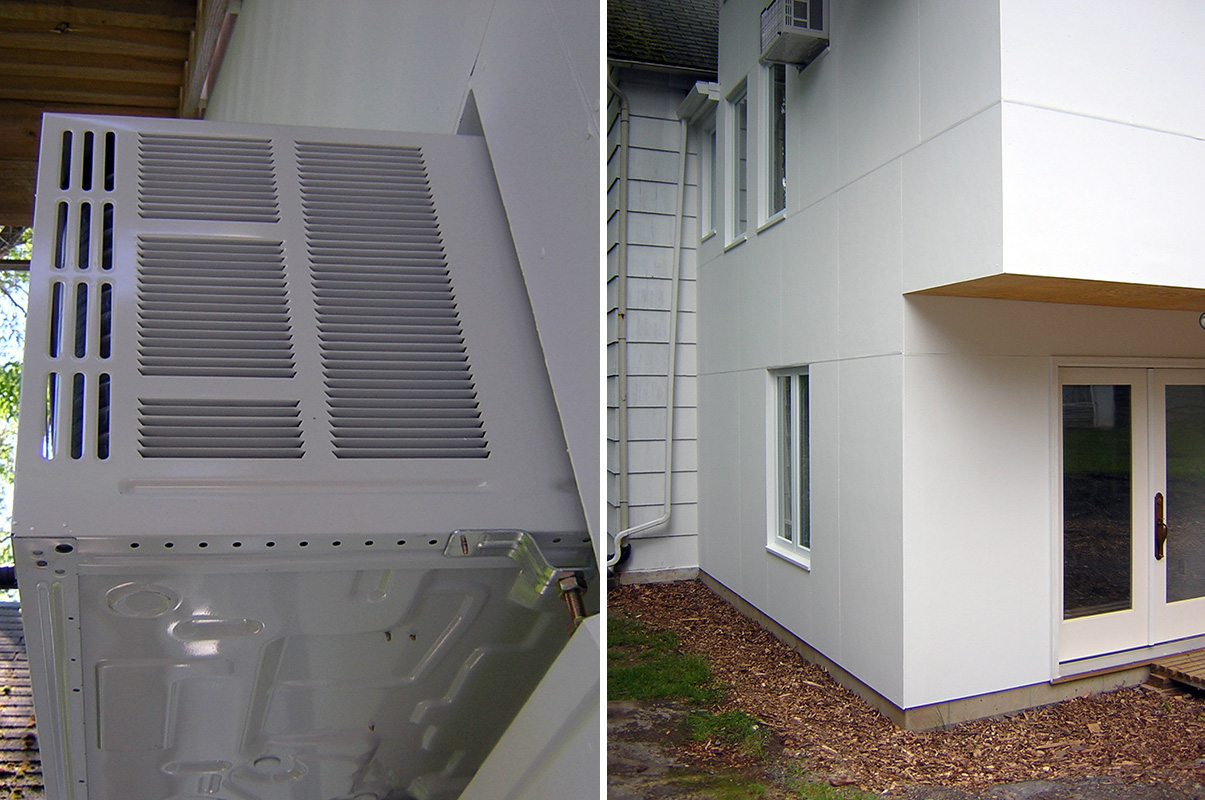
Before removing the scaffolding planks, we install an air conditioner for the studio space. We purchased the less-expensive window a/c units (rather than the more-expensive "thru-the-wall" units), so the opening in the wall mimics the operation of a double-hung window (left). With the final scaffolding removed, we complete the exterior siding (right), put on the final 2 coats of exterior paint, and move inside for the final tasks.
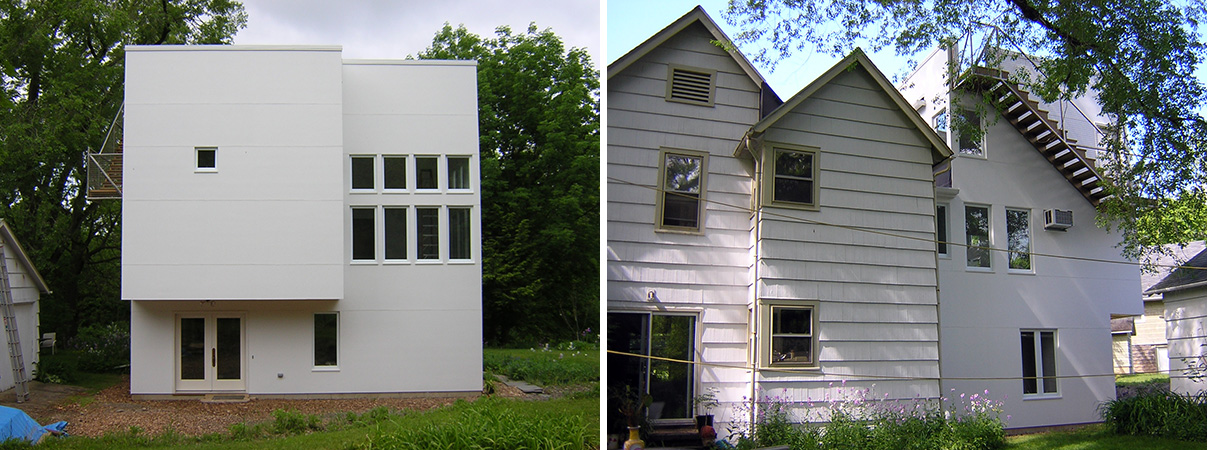
This is how the addition looks from the outside: the east elevation (left); and the south elevation (right).
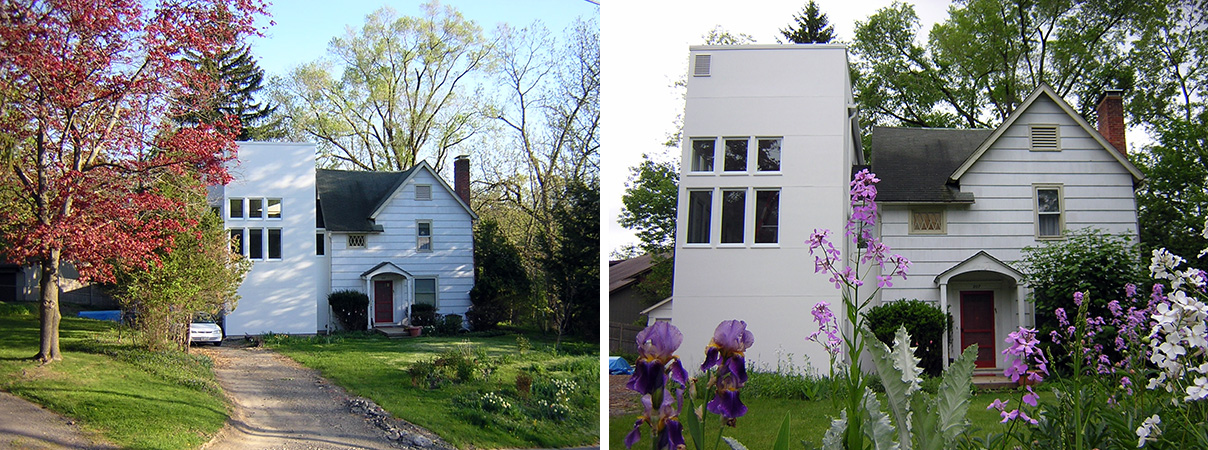
Two images of the north elevation: with the red maple (left), and more recently with some flowers in the foreground (right).
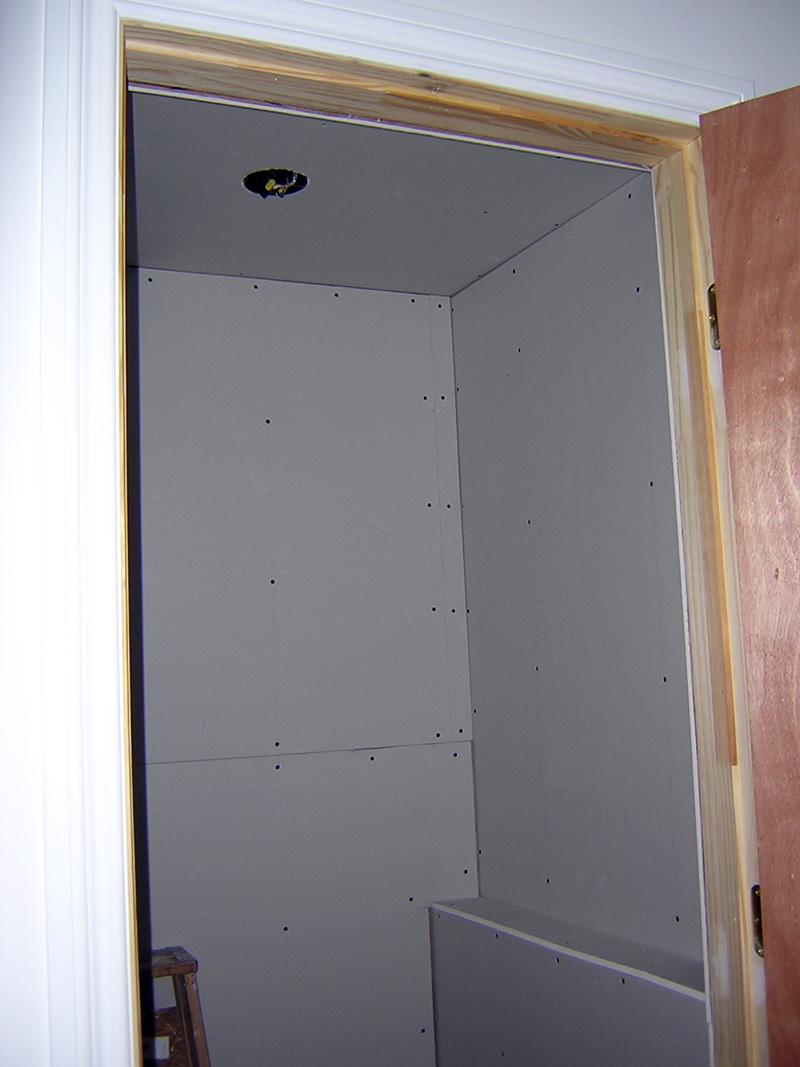
With the scaffolding removed, I re-build the two interior stairs using the 2x12 scaffolding planks for the treads, and ripping (cutting parallel to the grain) the old temporary 2x10 treads for the new risers. To comply with the NYS building code, I begin installing gypsum board in the closet under stair #1.
[previous week] | [next week] | [week by week index]
last updated: 06 June 2005
Copyright 2004-2005 J. Ochshorn. All rights reserved. Republishing material on this web site, whether in print or on another web site, in whole or in part, is not permitted without advance permission of the author.