Design-build addition to residence, Ithaca, NY
[Addition homepage]
Weeks 37-40: February 14, 2005 - March 13, 2005
[previous week] |
[next week] |
[week by week index]
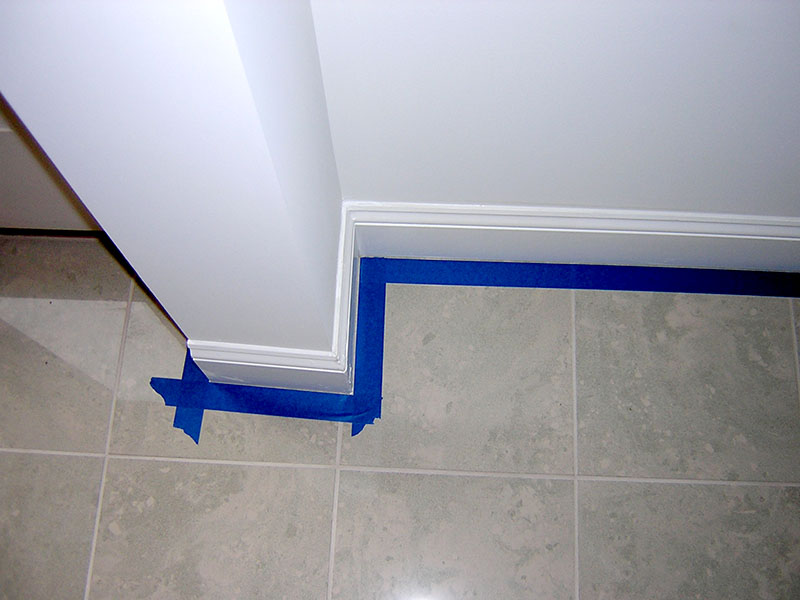
Once the baseboard is installed, the tile and concrete floors are masked so that miles and miles of clear sealant can be neatly applied to the juncture of board and floor.
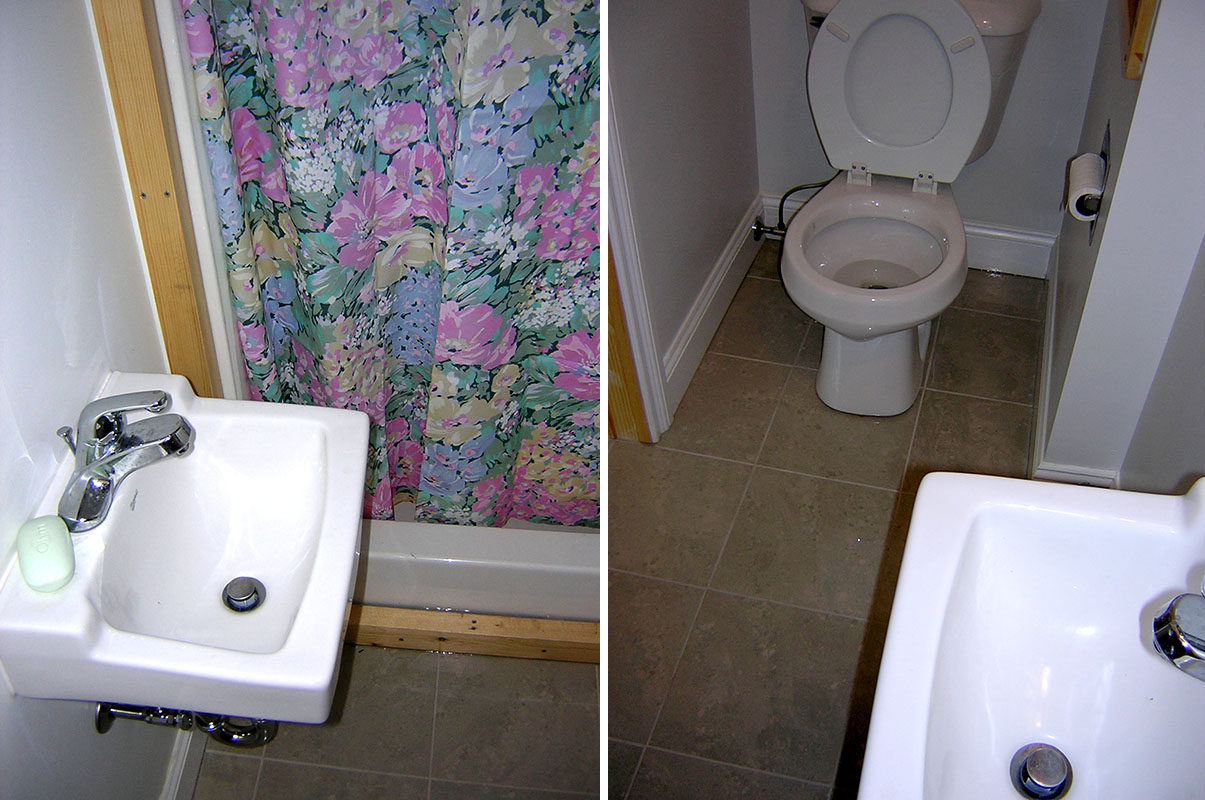
Eric Jr. of Quality Plumbing returns to install the bathroom fixtures: a tiny sink next to the shower (left); and a standard toilet (right).
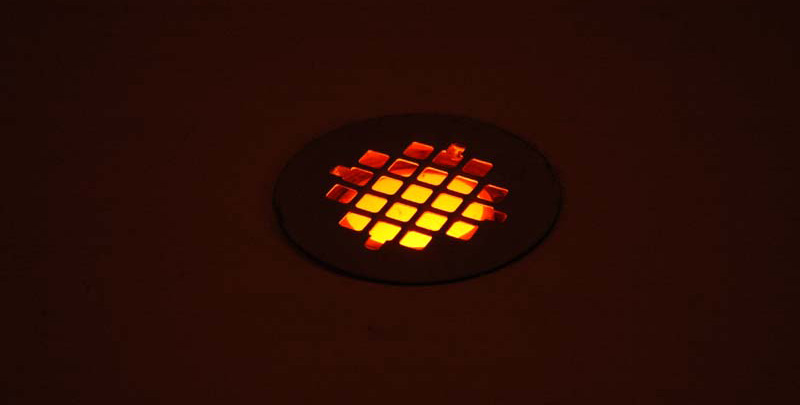
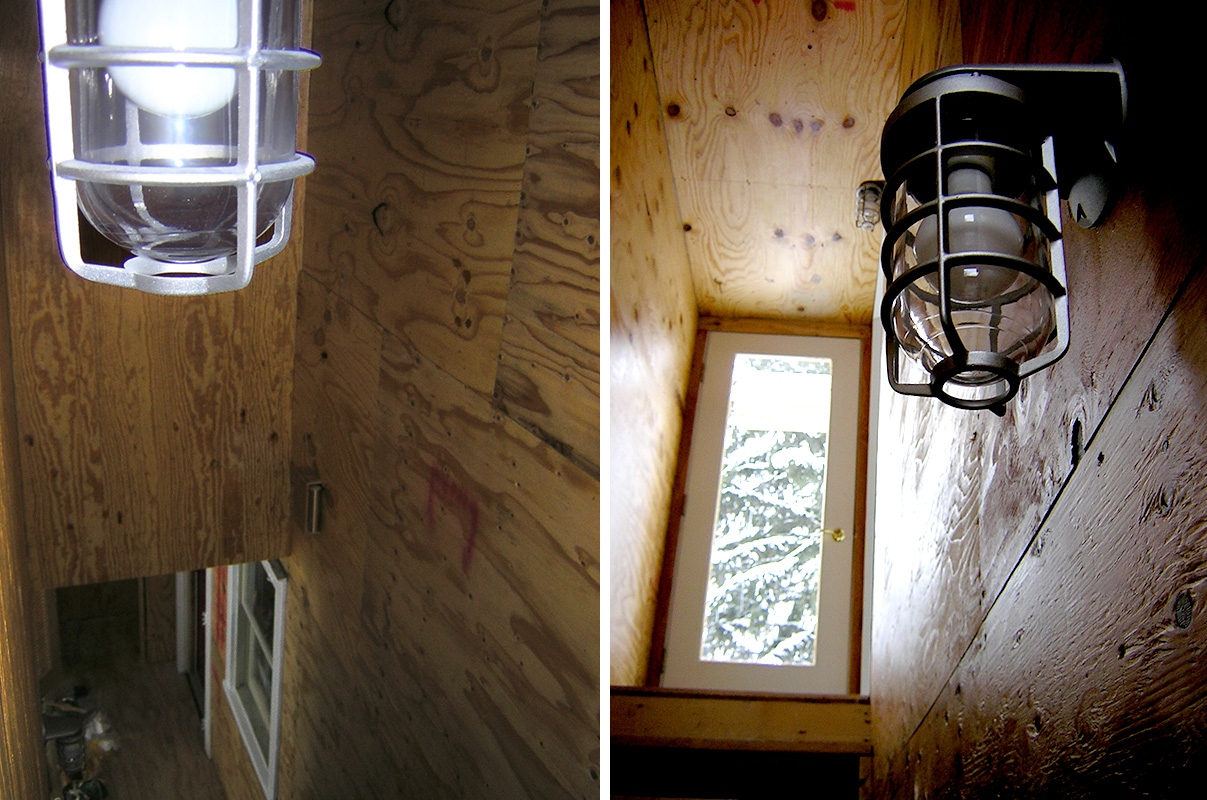
The shower drain is illuminated from below, due to the translucency of the pvc waste pipe, and the fact that the ceiling under the pipe has not yet been installed, allowing light to reach what would ordinarily be hidden and dark. The effect is so striking — as if aliens are reproducing within the plumbing pipes — that I momentarily consider installing a translucent panel in the ceiling below, so that this remarkable quality can be made permanent (photo by Rob Ochshorn).
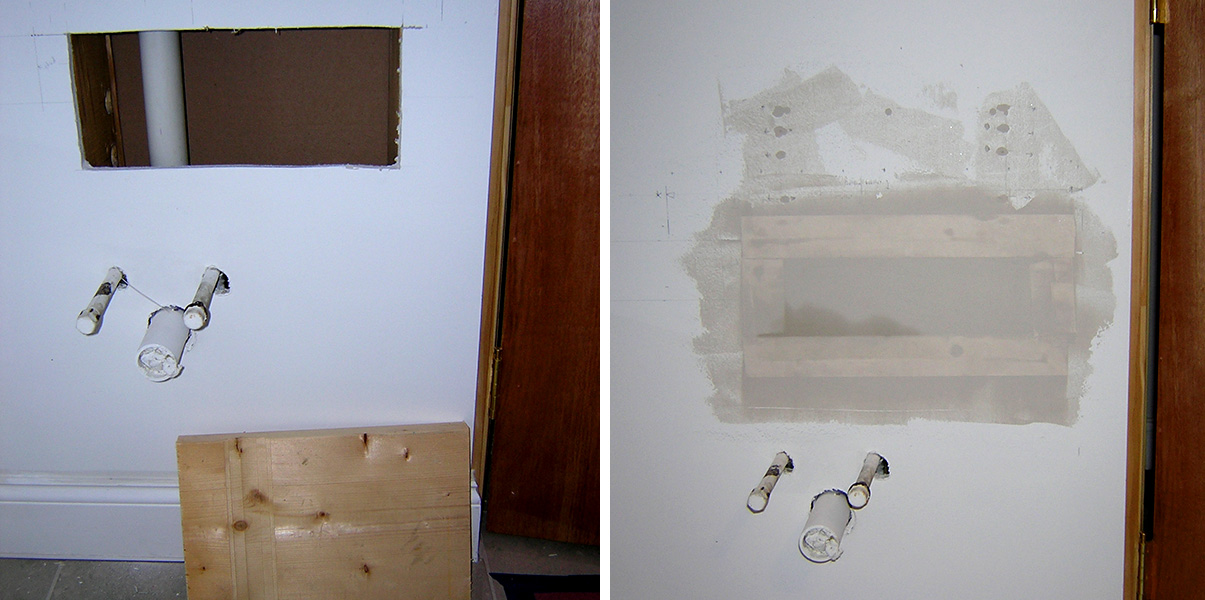
We try to install a normal utility sink in the studio, but the sink legs cannot be screwed into the hard tile floor. After locating a wall-mounted version of the same sink, I need to open up the gypsum board and insert a substantial piece of lumber between the studs, in order to provide a secure point of attachment for the heavy sink. The wall is opened (left); the wood is screwed in, and the gypsum board is replaced, taped, and spackled (right).
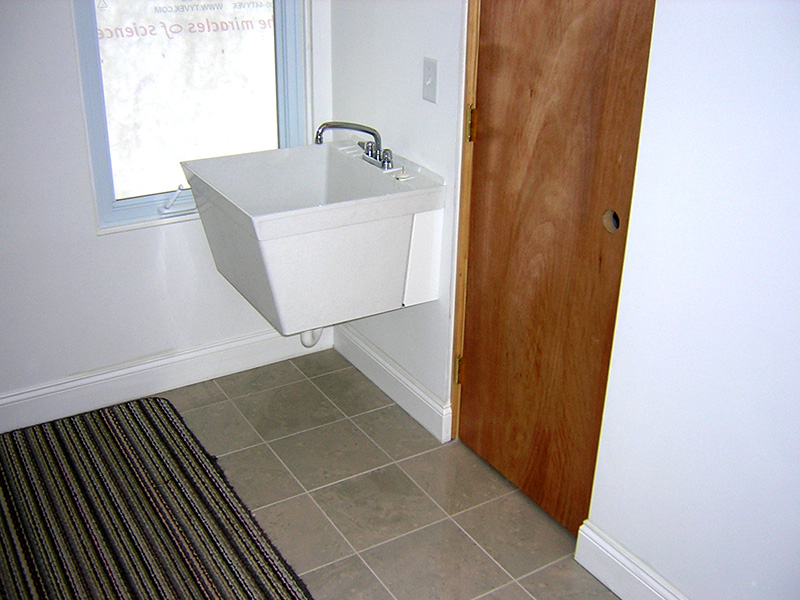
The utility sink can now be mounted on a metal bracket fastened to the hidden 2x10 nailer with 1/4" diameter lag screws.

We build and install approximately 160 linear feet of book shelves for the downstairs "family room," also known as the "library."
The two stair zones, faced with CDX plywood, are given 3 coats of water-based polyurethane.
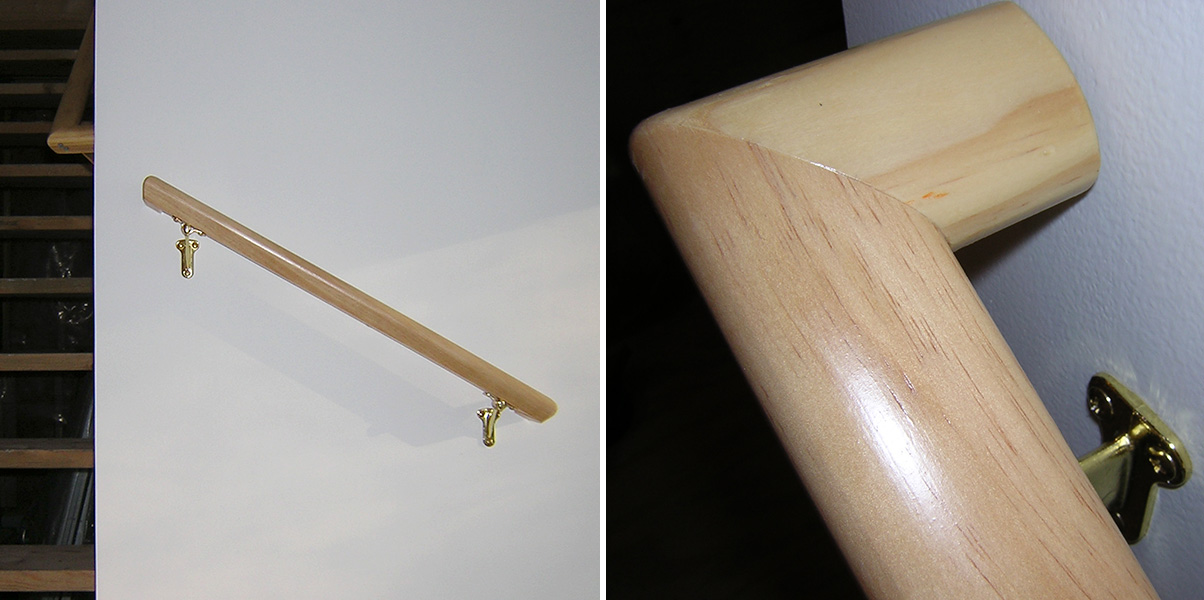
The two stairs cannot be finished until the scaffolding is taken down, since we intend to reuse the 2x12 planks for the permanent treads. In the meantime, we build and install handrails.
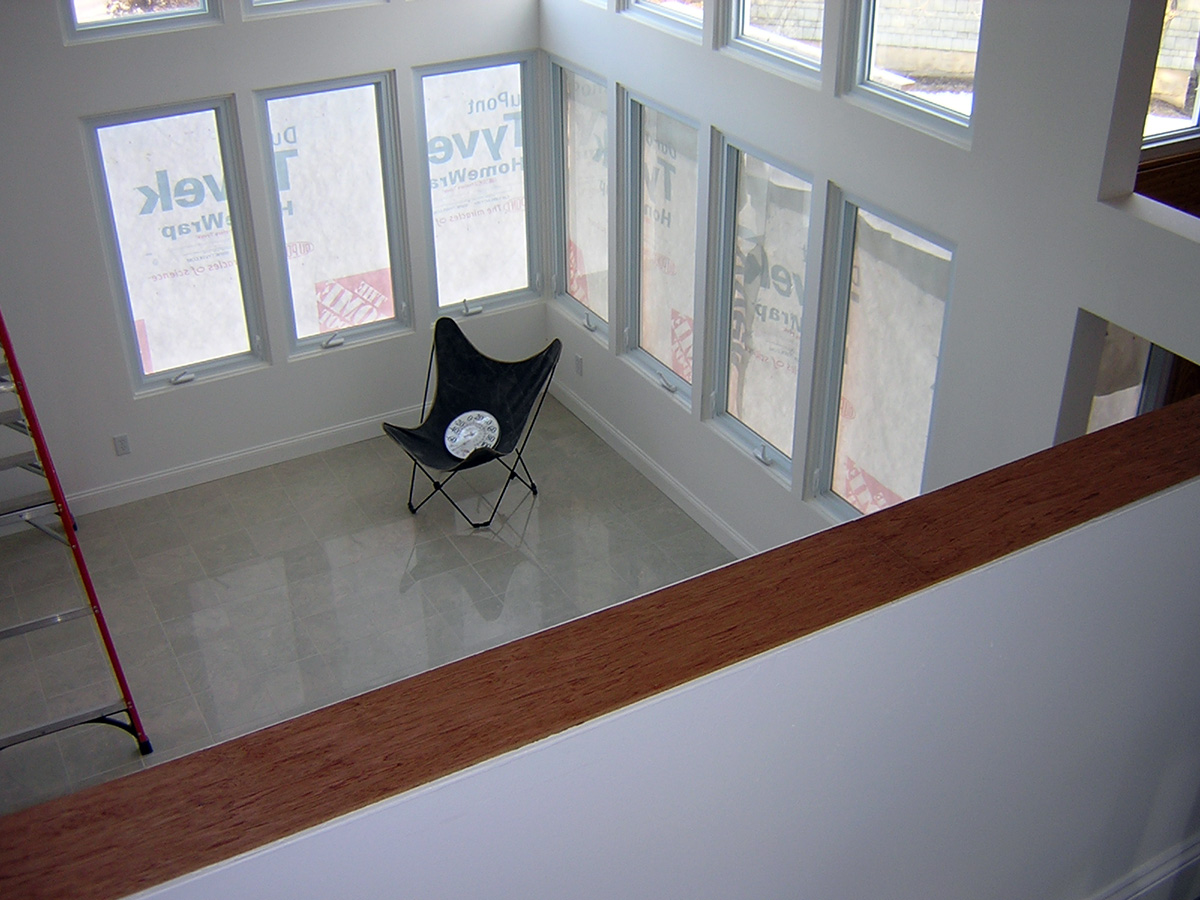
The low wall of the mezzanine will get a guard rail, in order to bring the height of the wall up to 36 inches, the minimum allowable height in a residence. Shown in this image is the first "layer" of construction for the rail: a piece of 1/4" plywood that will act as a reveal below a 5/4" #2 pine coping. The rail itself, black-iron plumbing pipe with an outside diameter of 1-1/2", will be fastened to this wooden coping (it's actually already installed, but the image belongs to week 41 — stay tuned).
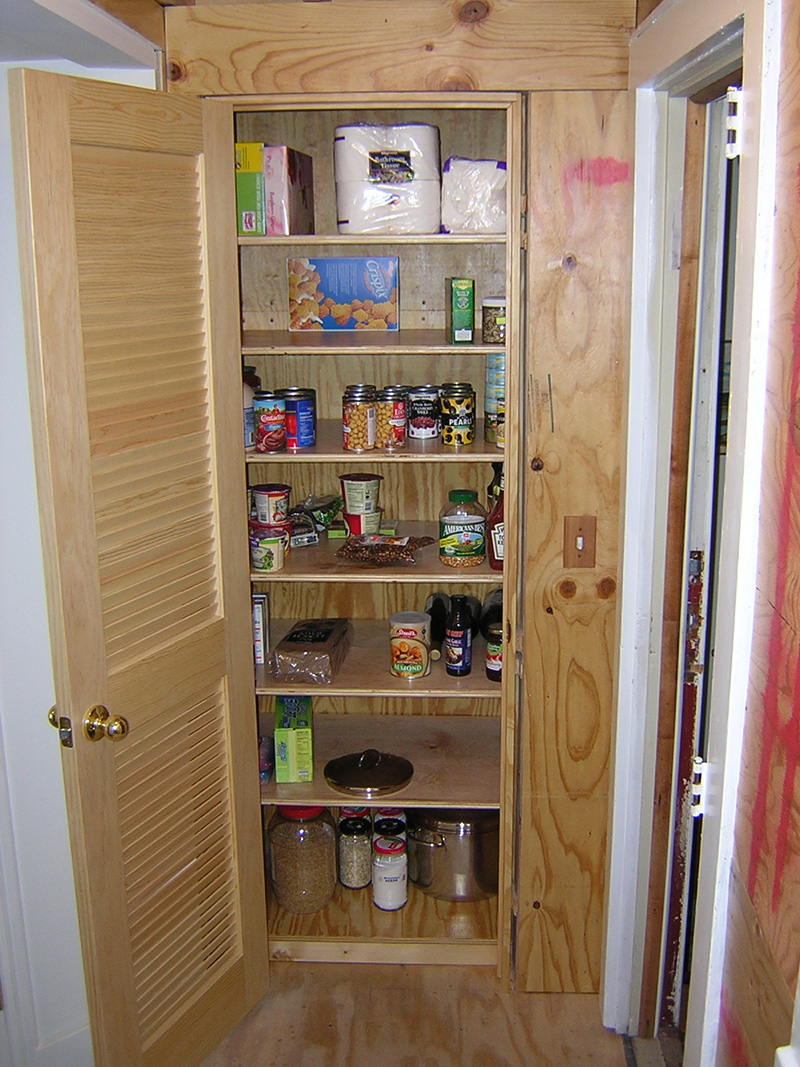
Our kitchen gets a new "pantry" closet: we cut and install shelves and load it up immediately. After much discussion, we also buy some cheap door knobs; we searched in vain for inexpensive glass knobs similar to those that came with the house.
[previous week] | [next week] | [week by week index]
last updated: 15 March 2005
Copyright 2004-2005 J. Ochshorn. All rights reserved. Republishing material on this web site, whether in print or on another web site, in whole or in part, is not permitted without advance permission of the author.